What Is a Wood Box Beam?
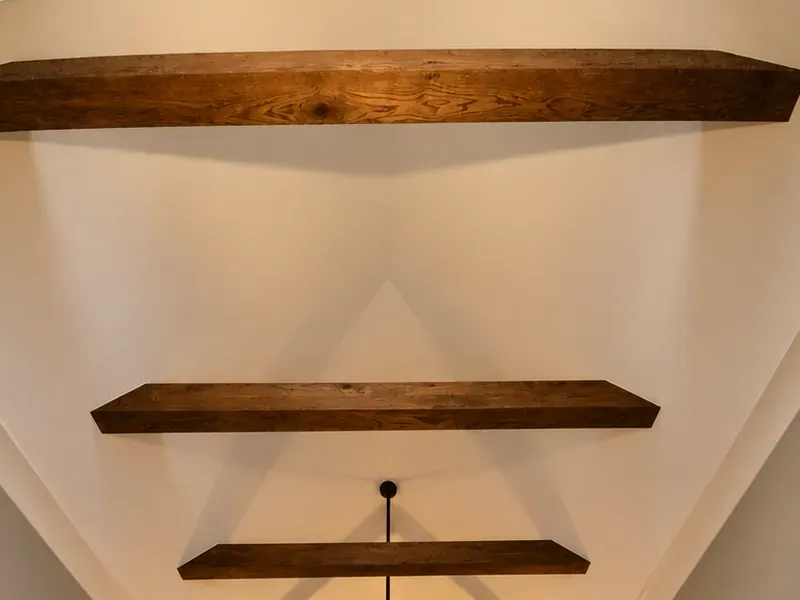
A wood box beam is a decorative ceiling beam made from three real wood boards joined into a U shape, hollow inside, so it looks like a solid timber from below but weighs far less.
The name describes the shape, not the material. Some products sold as box beams are molded foam; ours are real lumber on every visible side, built in our shop in Indian Trail, NC. You can see the finished result on our page about our wood box beams. This guide follows one beam from rough board to installed ceiling.
Why hollow? A solid beam the same size would be heavy and prone to cracking as it dries. A box beam gives the same look with three boards, so it can be fastened to an ordinary ceiling without structural changes.
Step 1 and 2: Measure the Room and Choose the Look
Every beam starts in your home, not in the shop: we measure the ceiling as built and choose the wood and stain in your own light.
At the free visit we measure the room, the ceiling height and any slope, and check where the ceiling framing runs, since that is where each beam will be fastened. Ceilings are rarely perfectly flat, so we also note any dips or high spots the beams will have to follow.
Choosing Species, Grade and Size
You choose from pine, white oak, red oak, maple, walnut and poplar, or character-grade and rough-sawn lumber for a rustic look. Beam size follows the room: taller and wider rooms need larger beams to read as timber from the floor.
Choosing the Stain
We bring stain samples on real wood and choose the color next to your floors and cabinets. A color picked from a phone screen almost never looks the same on a ceiling.
Step 3: Select and Prepare the Lumber
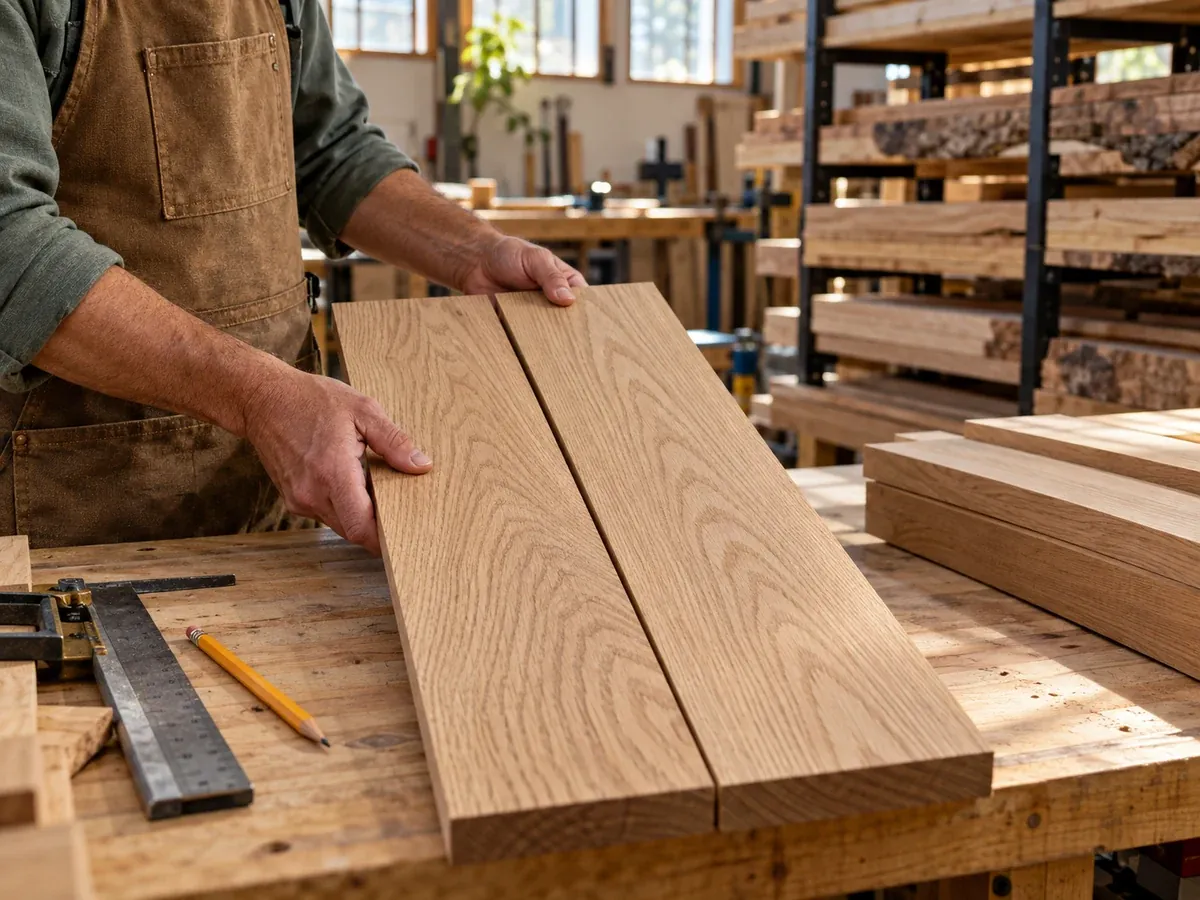
The look of the beam is decided at the lumber rack: we choose each board for its grain, color and straightness before any cut is made.
Boards for the same beam should look like they came from one piece of wood, so we sort them by color and grain pattern. Straight boards matter just as much: a twisted board makes a twisted beam.
Wood also needs to be at a stable moisture level before it is cut. Lumber exchanges moisture with the air around it, and pieces that dry after assembly can shrink or open at the joints. That is why we prepare boards in the shop before building, and why every finished piece is sealed.
Step 4 and 5: Cut the Boards and Join the Corners
A box beam has two sides and a bottom, cut to the exact length of your room and joined along the long edges with miter joints.
Each board is cut to width and length. The long edges are then cut at an angle so the side and bottom meet in a miter joint, a corner where the two angled edges come together. A good miter shows continuous grain wrapping around the corner, which is why a well-made box beam looks like one solid piece.
The three boards are glued and clamped into a U shape and left to set. Ends that will be visible, for example where a beam stops short of a wall, get an end cap so the beam reads as solid from every angle.
Why Not Just Nail Three Boards Together?
Butt joints, where one board simply overlaps the edge of another, show end grain and a visible seam along the full length of the beam. Miters hide both. It takes more cutting time, but it is the difference between a beam and a box.
Step 6: Sand, Stain and Seal
Finishing happens in the shop, not on your ceiling: each beam is sanded, stained in the approved color and sealed before delivery.
Sanding removes machine marks and prepares the surface to take stain evenly. For rough-sawn beams we keep the saw texture and finish it instead. The stain is the one you approved at the visit, and the final sealer protects the wood from moisture and makes it easy to dust.
Finishing in the shop means no stain fumes, drips or drying time inside your home.
Step 7: Install and Clean Up
On install day the beams arrive finished and fit to length; the work in your home is fastening, final fitting and cleanup.
We seal off the work area and protect your floors and furniture. Each beam is lifted into place and fastened to the ceiling framing so it sits tight against the ceiling with no visible hardware. When the last beam is up, we clean the room and leave it cleaner than we found it.
How Long Does It Take?
About two weeks from material production to installation, with most of the work happening in our shop, not in your home.
| Stage | Where it happens | When |
|---|---|---|
| Measure and choose the look | Your home | Your free visit |
| Written quote | By email or text | After the visit |
| Lumber, cutting, joining, finishing | Our Indian Trail shop | During the about two weeks from production to install |
| Installation and cleanup | Your home | Install day |
How to Check the Quality of a Box Beam
You can judge a finished box beam in five minutes by looking at its corners, its color, its ends and how it meets the ceiling.
- 1
Look at the corners.
The grain should wrap around the corner with a tight miter, not show a seam or end grain.
- 2
Compare the boards.
Sides and bottom should match in color and grain, as if cut from one piece.
- 3
Check the ends.
Visible ends should be capped and finished, not hollow.
- 4
Sight along the ceiling line.
The beam should sit tight to the ceiling along its length, with no large gaps.
- 5
Look for fasteners.
No screws, brackets or nail holes should be visible from the floor.
For a full comparison of materials, read why real wood beats foam. When you are ready to price your room, here is how to request a quote quickly. And if you want to know who builds your beams, read about our team.
Frequently Asked Questions
Short, direct answers to the questions homeowners ask most about how wood box beams are made.
What is a wood box beam made of?
Three real wood boards, two sides and a bottom, joined with miter joints into a hollow U shape. Ours are real lumber on every visible side, never foam.
Are box beams hollow?
Yes. The hollow core is what makes a box beam much lighter than a solid timber of the same size, so it can be fastened to the ceiling framing without structural changes.
How long does it take to make and install box beams?
About two weeks from material production to installation. Most of the work happens in our Indian Trail shop, so the time inside your home is short.
Are the beams stained in my home?
No. Each beam is sanded, stained in the color you approved and sealed in our shop, so there are no stain fumes, drips or drying time inside your home.
How are box beams attached to the ceiling?
We locate the ceiling framing and fasten every beam securely to it, so the beam sits tight against the ceiling with no visible hardware.
Who makes Chava Grain & Beam by Chava Home Design box beams?
Our own team builds every beam in our Indian Trail, NC shop and installs it in your home. Chava Grain & Beam by Chava Home Design was founded in 2022 and is led by a finish carpenter with more than 8 years of experience.